Publish map layers
Hub4Everybody allows you to publish geo-data in the form of OGC web mapping services and make them available through the Hub catalogue to other users. Vector or raster data files can be published as WMS and in case of vector data also as WFS. Following data types are currently supported:
- GeoJSON file
- ShapeFile files (at least three files: .shp, .shx, .dbf)
- GeoTIFF (.tif or .tiff, with or without .tfw, .tifw, .tiffw or .wld)
- JPEG 2000 (.jp2, with or without .j2w, jp2w or .wld)
- PNG (.png, with .png.aux.xml, .pgw, .pngw or .wld)
- JPEG (.jpg, .jpeg, with .jpg.aux.xml, .jgw, .jpgw, .jpegw or .wld)
- any of above types in single ZIP file (.zip).
In case of raster data input, following input combinations of bands and color interpretations are supported:
- 1 band: Gray
- 1 band: Palette
- Transparency will be ignored. See #466 for details.
- 2 bands: Gray, Alpha
- Float data type with min/max values other than 0/255 may result in unexpected WMS output. See #466 for details.
- 3 bands: Red, Green, Blue
- 4 bands: Red, Green, Blue, Alpha
More details about the Layman service which is responsible for the publication itself can be found here.
Publishing geo-data can be done either via the web application or in the QGIS Desktop using Layman plugin. To publish geo-data, follow these steps:
Web application
1. Prepare the data to be published
Take your geo-data (Esri Shapefile, GeoJSON, KML, rasters, ...) and optionaly SLD (Styled Layer Descriptor) file. Preferably pack all the data to a zip package, but all the files can also be uploaded separatelly.
2. Login to the Hub with your identity
Either Sing In to the Hub first using the link in the top left corner, or go directly to the Map...

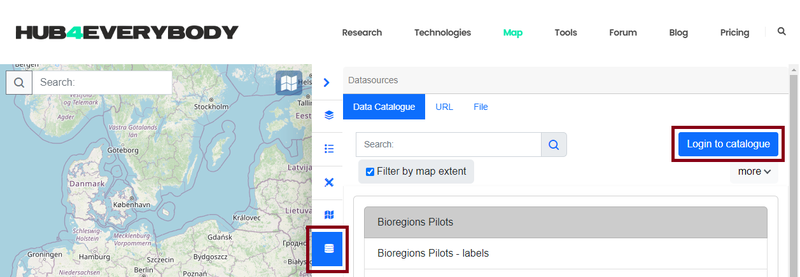
Now, in the Map application open the DataSources tool in the sidebar panel and click the "Login to catalogue" button.
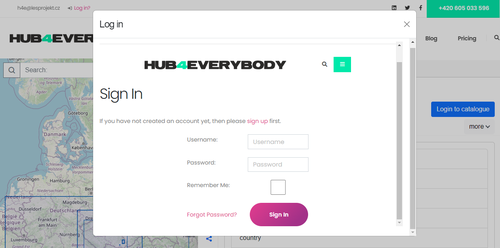
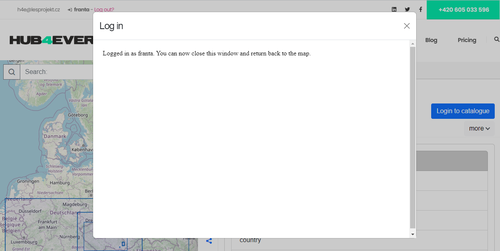
In case you signed in to the Hub first, you will only have to authorize the Map app to use your identity. If you are not signed in to the Hub, you will be presented with the form to enter your credentials.
3. Export the data
4. Set layer permissions
QGIS Plugin
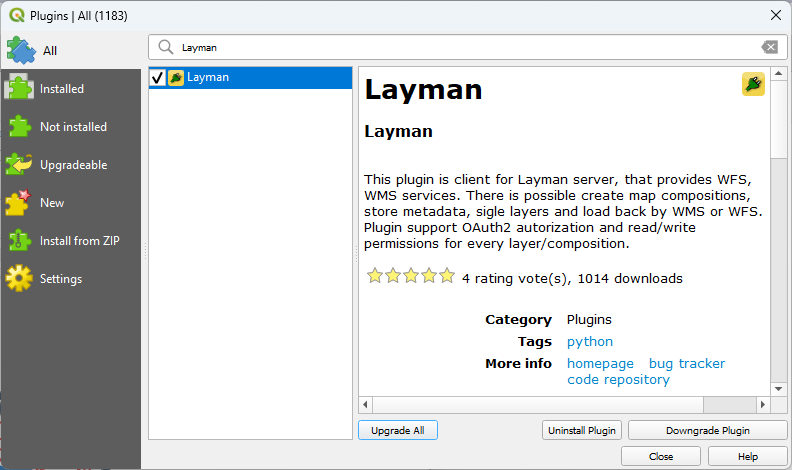
1. Install the QGIS Layman plugin
Go to the main menu and open Plugins > Manage and Install Plugins...
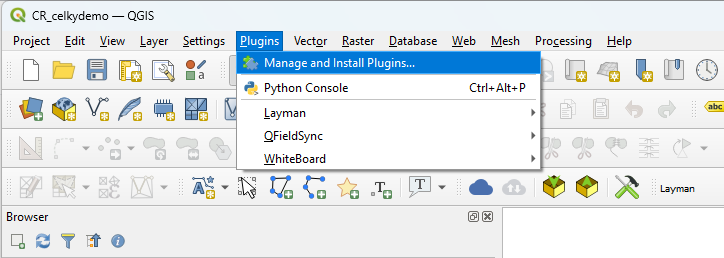
Search for the plugin named "Layman" and install it to your QGIS.